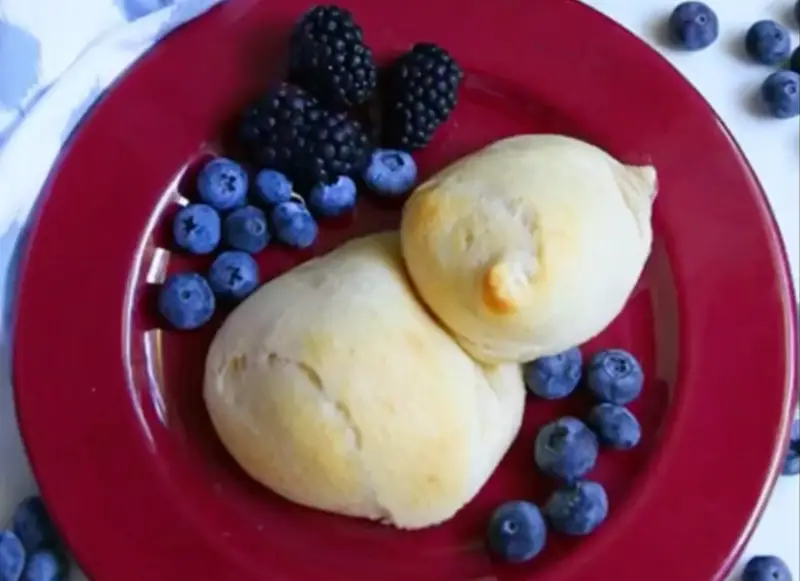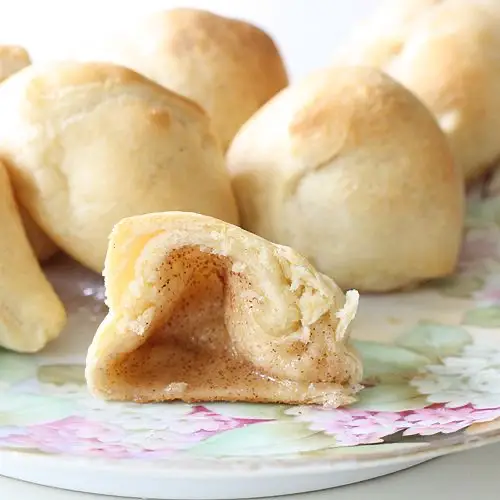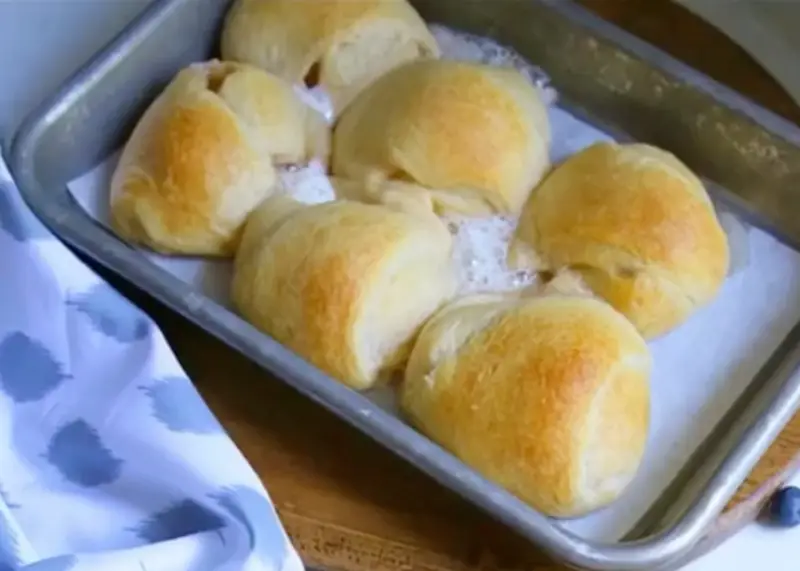
Welcome to our cozy corner of culinary magic, where today, we’re sharing a spellbinding recipe that’s been a favorite among our senior baking enthusiasts – Hocus Pocus Buns. These whimsical pastries boast a delightful cinnamon-sugar flavor and a mysterious melting marshmallow center that disappears as it bakes, leaving a hollow sweetness in its wake.
Enchanting Hocus Pocus Buns: A Family Favorite Dessert
Our family’s Hocus Pocus Buns recipe comes from Grandma Rose, who loved making these with us on chilly October evenings. She always said the marshmallows were like little magic spells that brought sweetness and smiles to anyone who tasted them. Every bite takes us back to those heartwarming moments in her kitchen, filled with laughter and the scent of cinnamon. Anita
- Prep Time: 10 minutes
- Cook Time: 15 minutes
- Total Time: 25 minutes
- Servings: 8 buns
Shopping List:
- Crescent roll dough (8 oz can)
- Large marshmallows (8 count)
- Unsalted butter (1/4 cup)
- Granulated sugar (2 tablespoons)
- Ground cinnamon (1 teaspoon)
Ingredients:
- 1 can (8 oz) refrigerated crescent roll dough
- 8 large marshmallows
- 1/4 cup melted butter
- 2 tablespoons granulated sugar
- 1 teaspoon ground cinnamon
Instructions:
- Preheat Your Oven: Start by preheating your oven to 375°F (190°C), a gentle heat that will perfectly puff up your crescent rolls into golden perfection.
- Prepare the Coating: In a small bowl, mix the granulated sugar and ground cinnamon. This aromatic blend will give your buns that irresistible sweet and spicy flavor that everyone loves.
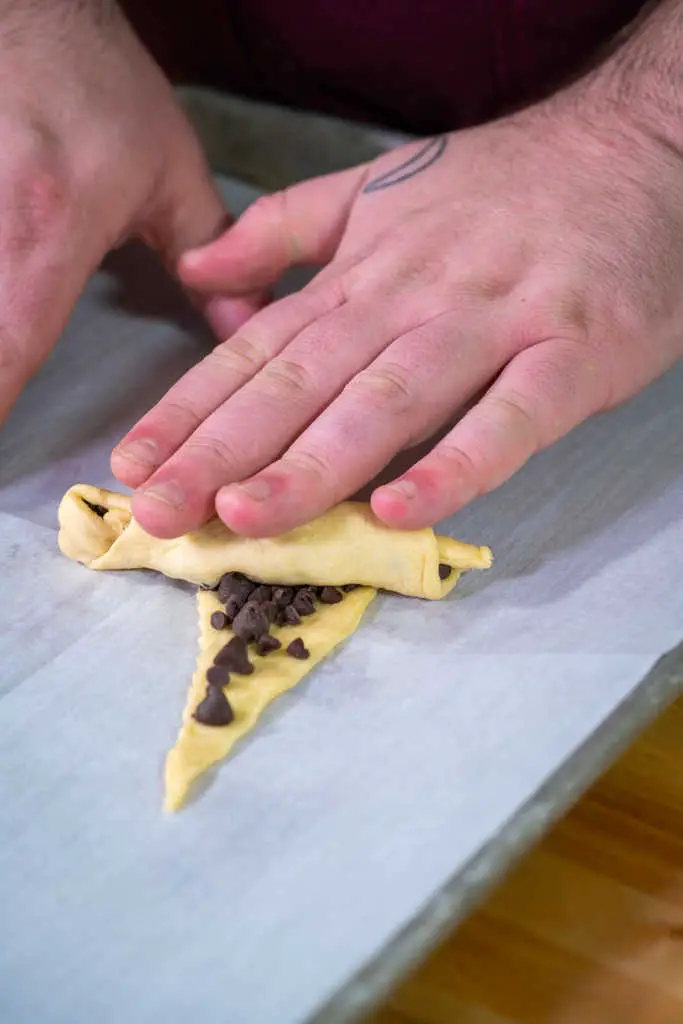
- Wrap the Magic: Unroll the crescent dough and separate it into triangles. Dip each marshmallow into the melted butter, then roll it in the cinnamon-sugar mixture. Place the marshmallow on the wide end of the triangle, and fold the dough over, sealing it tightly. This is where the magic happens!
- Bake to Perfection: Place your buns on a baking sheet and bake for about 12-15 minutes, or until they turn a beautiful golden brown. The marshmallow will “vanish,” leaving a deliciously gooey center.
- Cool and Serve: Let the buns cool for a few minutes before serving. This step is crucial as it allows the buns to set, creating the perfect texture.
The Secrets Behind the Perfect Recipe:
- Use fresh, high-quality marshmallows for the best melting effect.
- Seal the dough tightly around the marshmallow to ensure the magic happens inside the bun.
- Brushing the buns with butter before and after rolling them in cinnamon sugar gives them an extra golden, crispy exterior.
Serving Suggestions:
Serve warm with a sprinkle of powdered sugar on top, alongside a cup of hot cocoa or your favorite warm beverage for a comforting treat.
Keto Version Recipe:
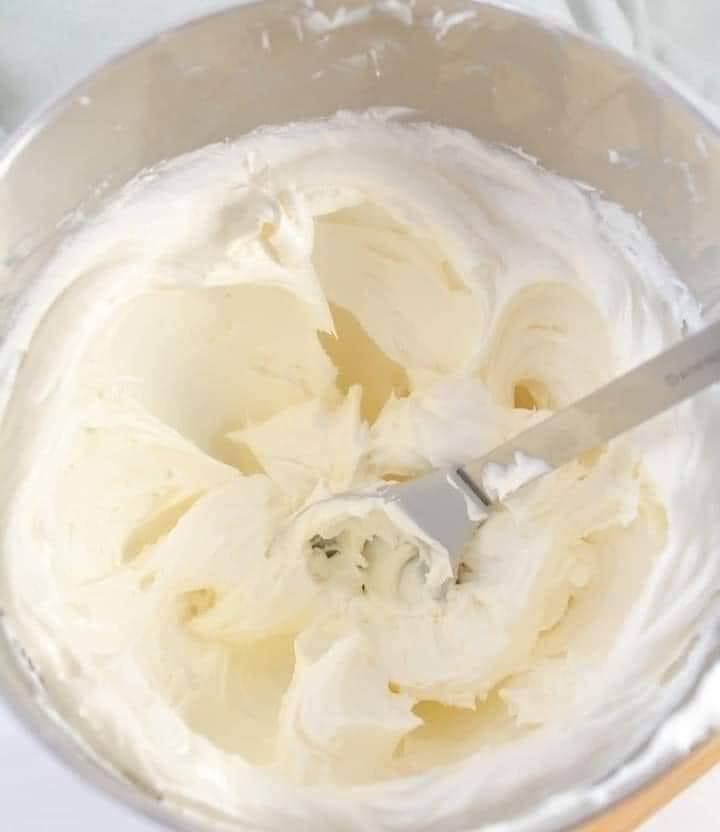
Replace the crescent roll dough with mozzarella-based keto dough, use a sugar-free sweetener mixed with cinnamon for the coating, and replace marshmallows with a keto-friendly cream cheese filling.
Hocus Pocus Buns are more than just a dessert; they’re a baking experience that brings joy and a touch of magic to your kitchen. They’re perfect for senior bakers who want to whip up something quick, easy, and delightful. So put on your apron, and let the magic begin!
Frequently Asked Questions (FAQs):
Q: Can I use homemade dough for this recipe? A: Yes, homemade dough can be used for a more traditional baking experience.
Q: Are Hocus Pocus Buns suitable for freezing? A: Yes, you can freeze them before baking for up to a month.
Happy Baking!
For more delightful recipes, visit Your Favorite Baking Blog.
📌 Don’t let the magic disappear! Pin this Hocus Pocus Bun recipe to your favorite dessert board, and share the enchantment with friends and family!
